
Master the Art of Repotting
As an Amazon Associate, I earn from qualifying purchases which helps support Zen Plant Care!
A Stress-Free Guide to Repotting Your Plants
Seeing your favorite Monstera or Pothos looking a little tired can be stressful. You start wondering if you’ve overwatered, underwatered, or if the plant has simply decided to give up on you. More often than not, the answer is simpler: it’s just outgrown its home. Repotting isn’t just about aesthetics, it’s a vital health check for your green roommates.
Here is everything you need to know to give your plants the room they need to breathe without the transplant shock drama.
3 Signs Your Plant is Ready for a Move
Before you grab the soil, make sure your plant actually needs a new pot. Repotting too often can actually do more harm than good. Look for these "cries for help":
The Root Escape: Roots are circling the bottom of the pot or poking out of the drainage holes.
The Thirst Trap: You find yourself watering every 2–3 days because the soil dries out almost instantly.
The Growth Plateau: It’s the height of spring, but your plant hasn’t put out a new leaf in months.
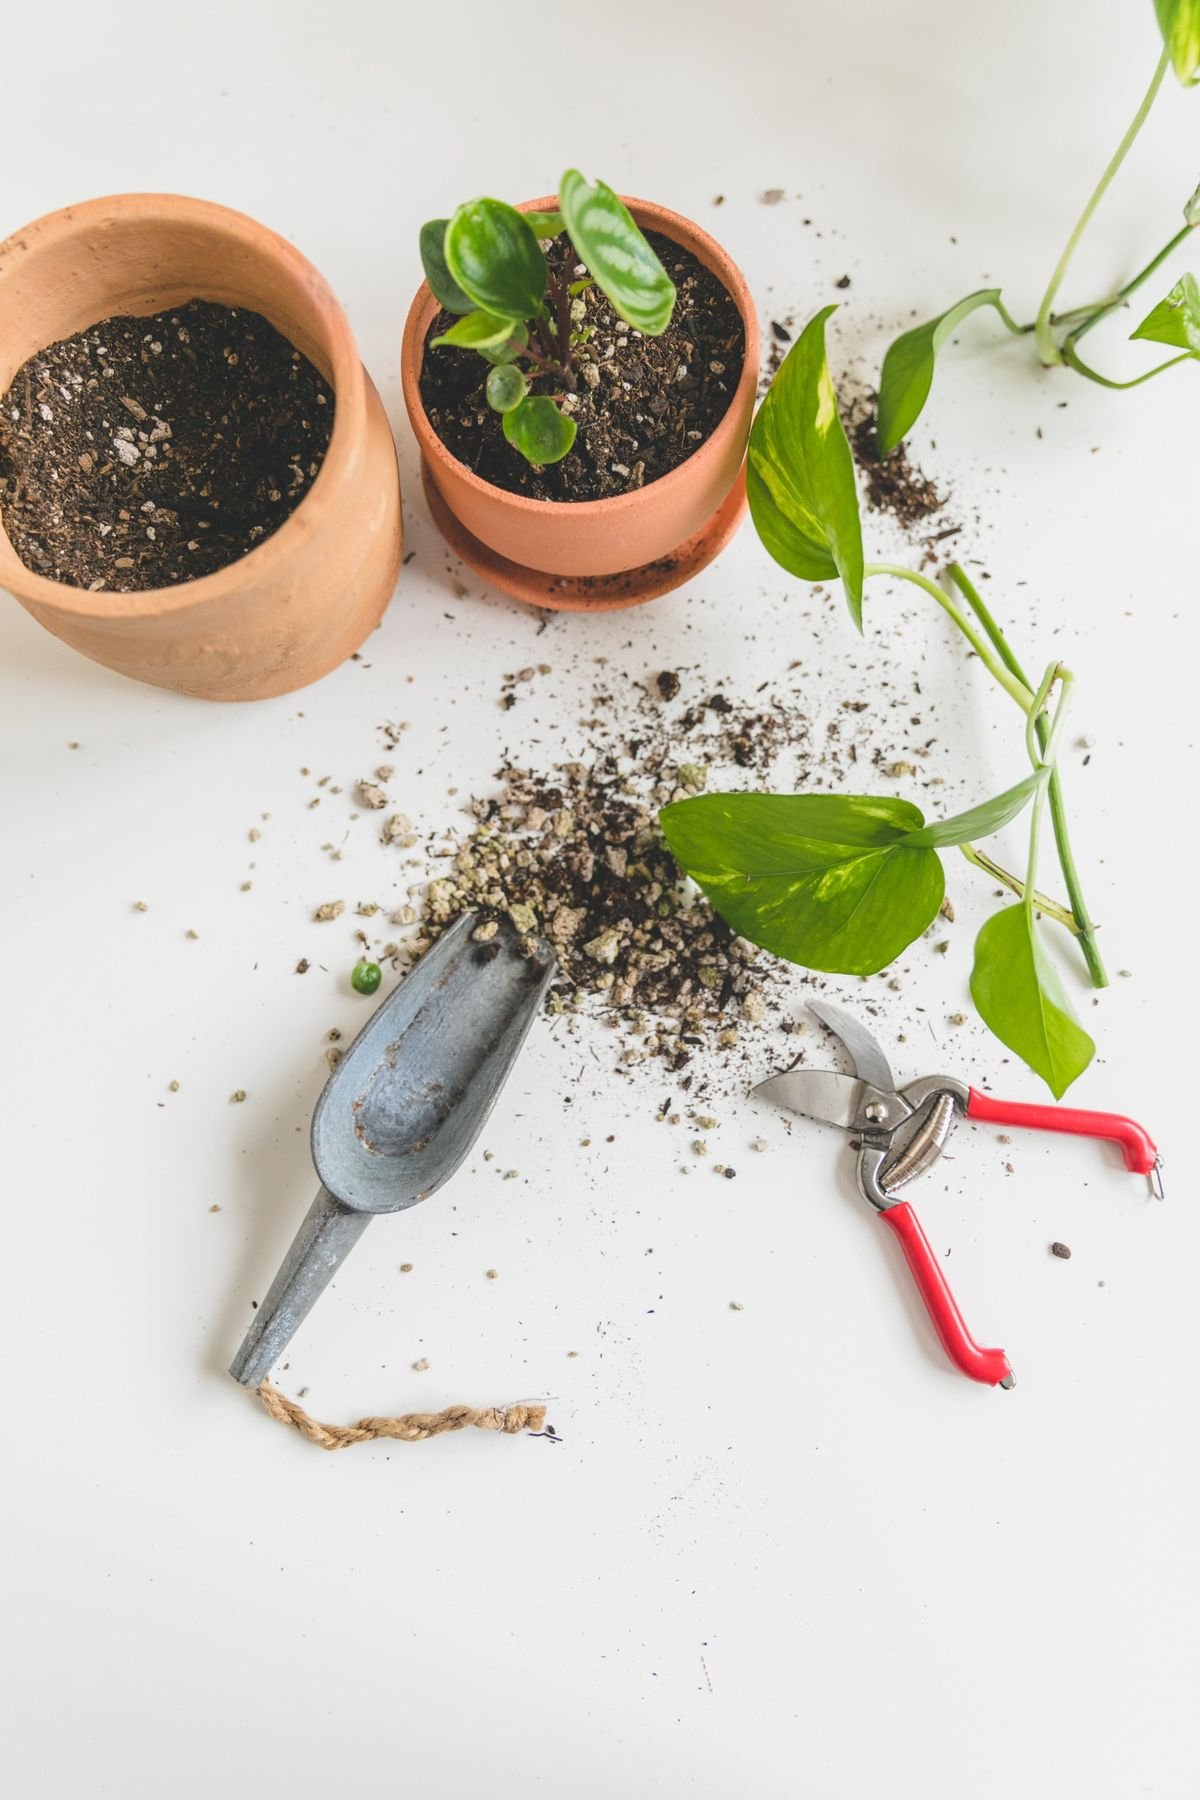
The Repotting Essentials
Gather your gear before you get your hands dirty to make the process as quick as possible.

A New Pot — Aim for 1–2 inches larger in diameter than the current one.
Get New Pot
Fresh Potting Mix — Old soil loses nutrients. Use a mix specific to your plant type (e.g., cacti vs. tropicals).
Get Potting Mix
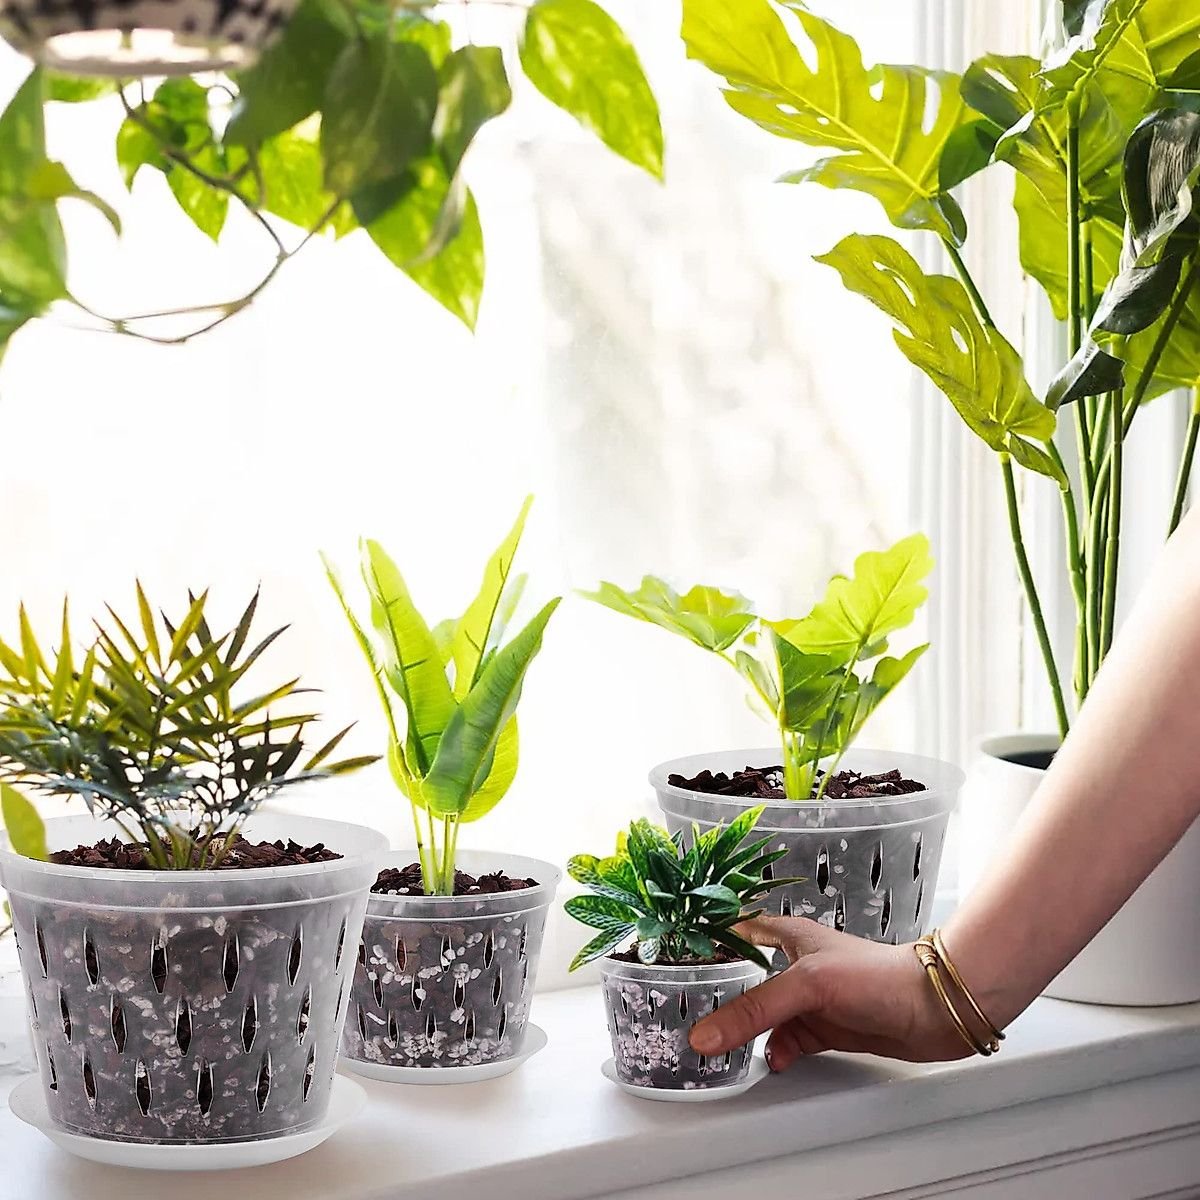
Drainage Hole — Non-negotiable! Without a hole, your plant is just sitting in a swamp.
Pruning Shears — To trim away any mushy or dead roots.
Get Pruning Shears
How to Repot Like a Pro
1. The Gentle Exit
Turn your plant sideways, hold it by the stems, and give the bottom of the pot a few firm taps. If it’s stuck, run a butter knife around the inner edge. Never pull the plant out by the stems, you wouldn't want to be lifted by your hair, right?
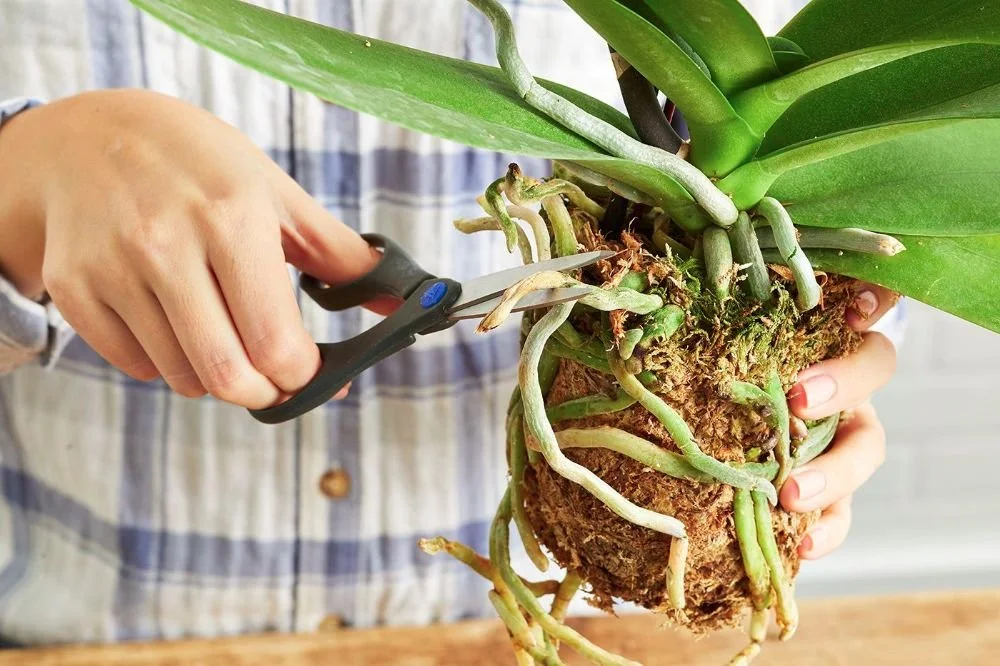
2. The Root Massage
Once it's out, gently loosen the root ball with your fingers. If the roots are "pot-bound" (growing in a tight circle), snip a few of the outer roots to encourage them to grow outward into the new soil.
3. The New Foundation
Place a layer of fresh soil at the bottom of the new pot. Position your plant so the top of the root ball sits about an inch below the rim. Fill the sides with soil, tapping the pot on the table to settle it—don't pack it down too hard, or the roots won't get any oxygen!
4. The "Welcome Home" Drink
Water the plant thoroughly until water runs out the bottom. This helps settle the soil around the roots and reduces shock.
Pro-Tip: Avoid fertilizing for at least 4–6 weeks after repotting. Fresh potting soil usually has built-in nutrients, and "feeding" a plant while it's adjusting to a new home can burn the sensitive new root tips.
Common Mistakes to Avoid
The "Mansion" Trap: Moving a plant into a pot that is way too big. Excess soil holds excess water, which leads to root rot.
The Wrong Season: Try to repot in Spring or early Summer when the plant is in its active growth phase.
Sun Overload: Keep your newly repotted plant in indirect light for a few days, even if it’s a sun-lover. Let it recover before hitting the "tanning bed."
Is your favorite plant looking a little cramped? If you're unsure which soil mix is best for your specific species, let me know what plant you're working with and I can give you a custom "recipe" for its new home!
…
Thanks for reading!