
How to Repot a Snake Plant in 8 Steps
*As an Amazon Associate, I earn from qualifying purchases, which helps support Zen Plant Care!
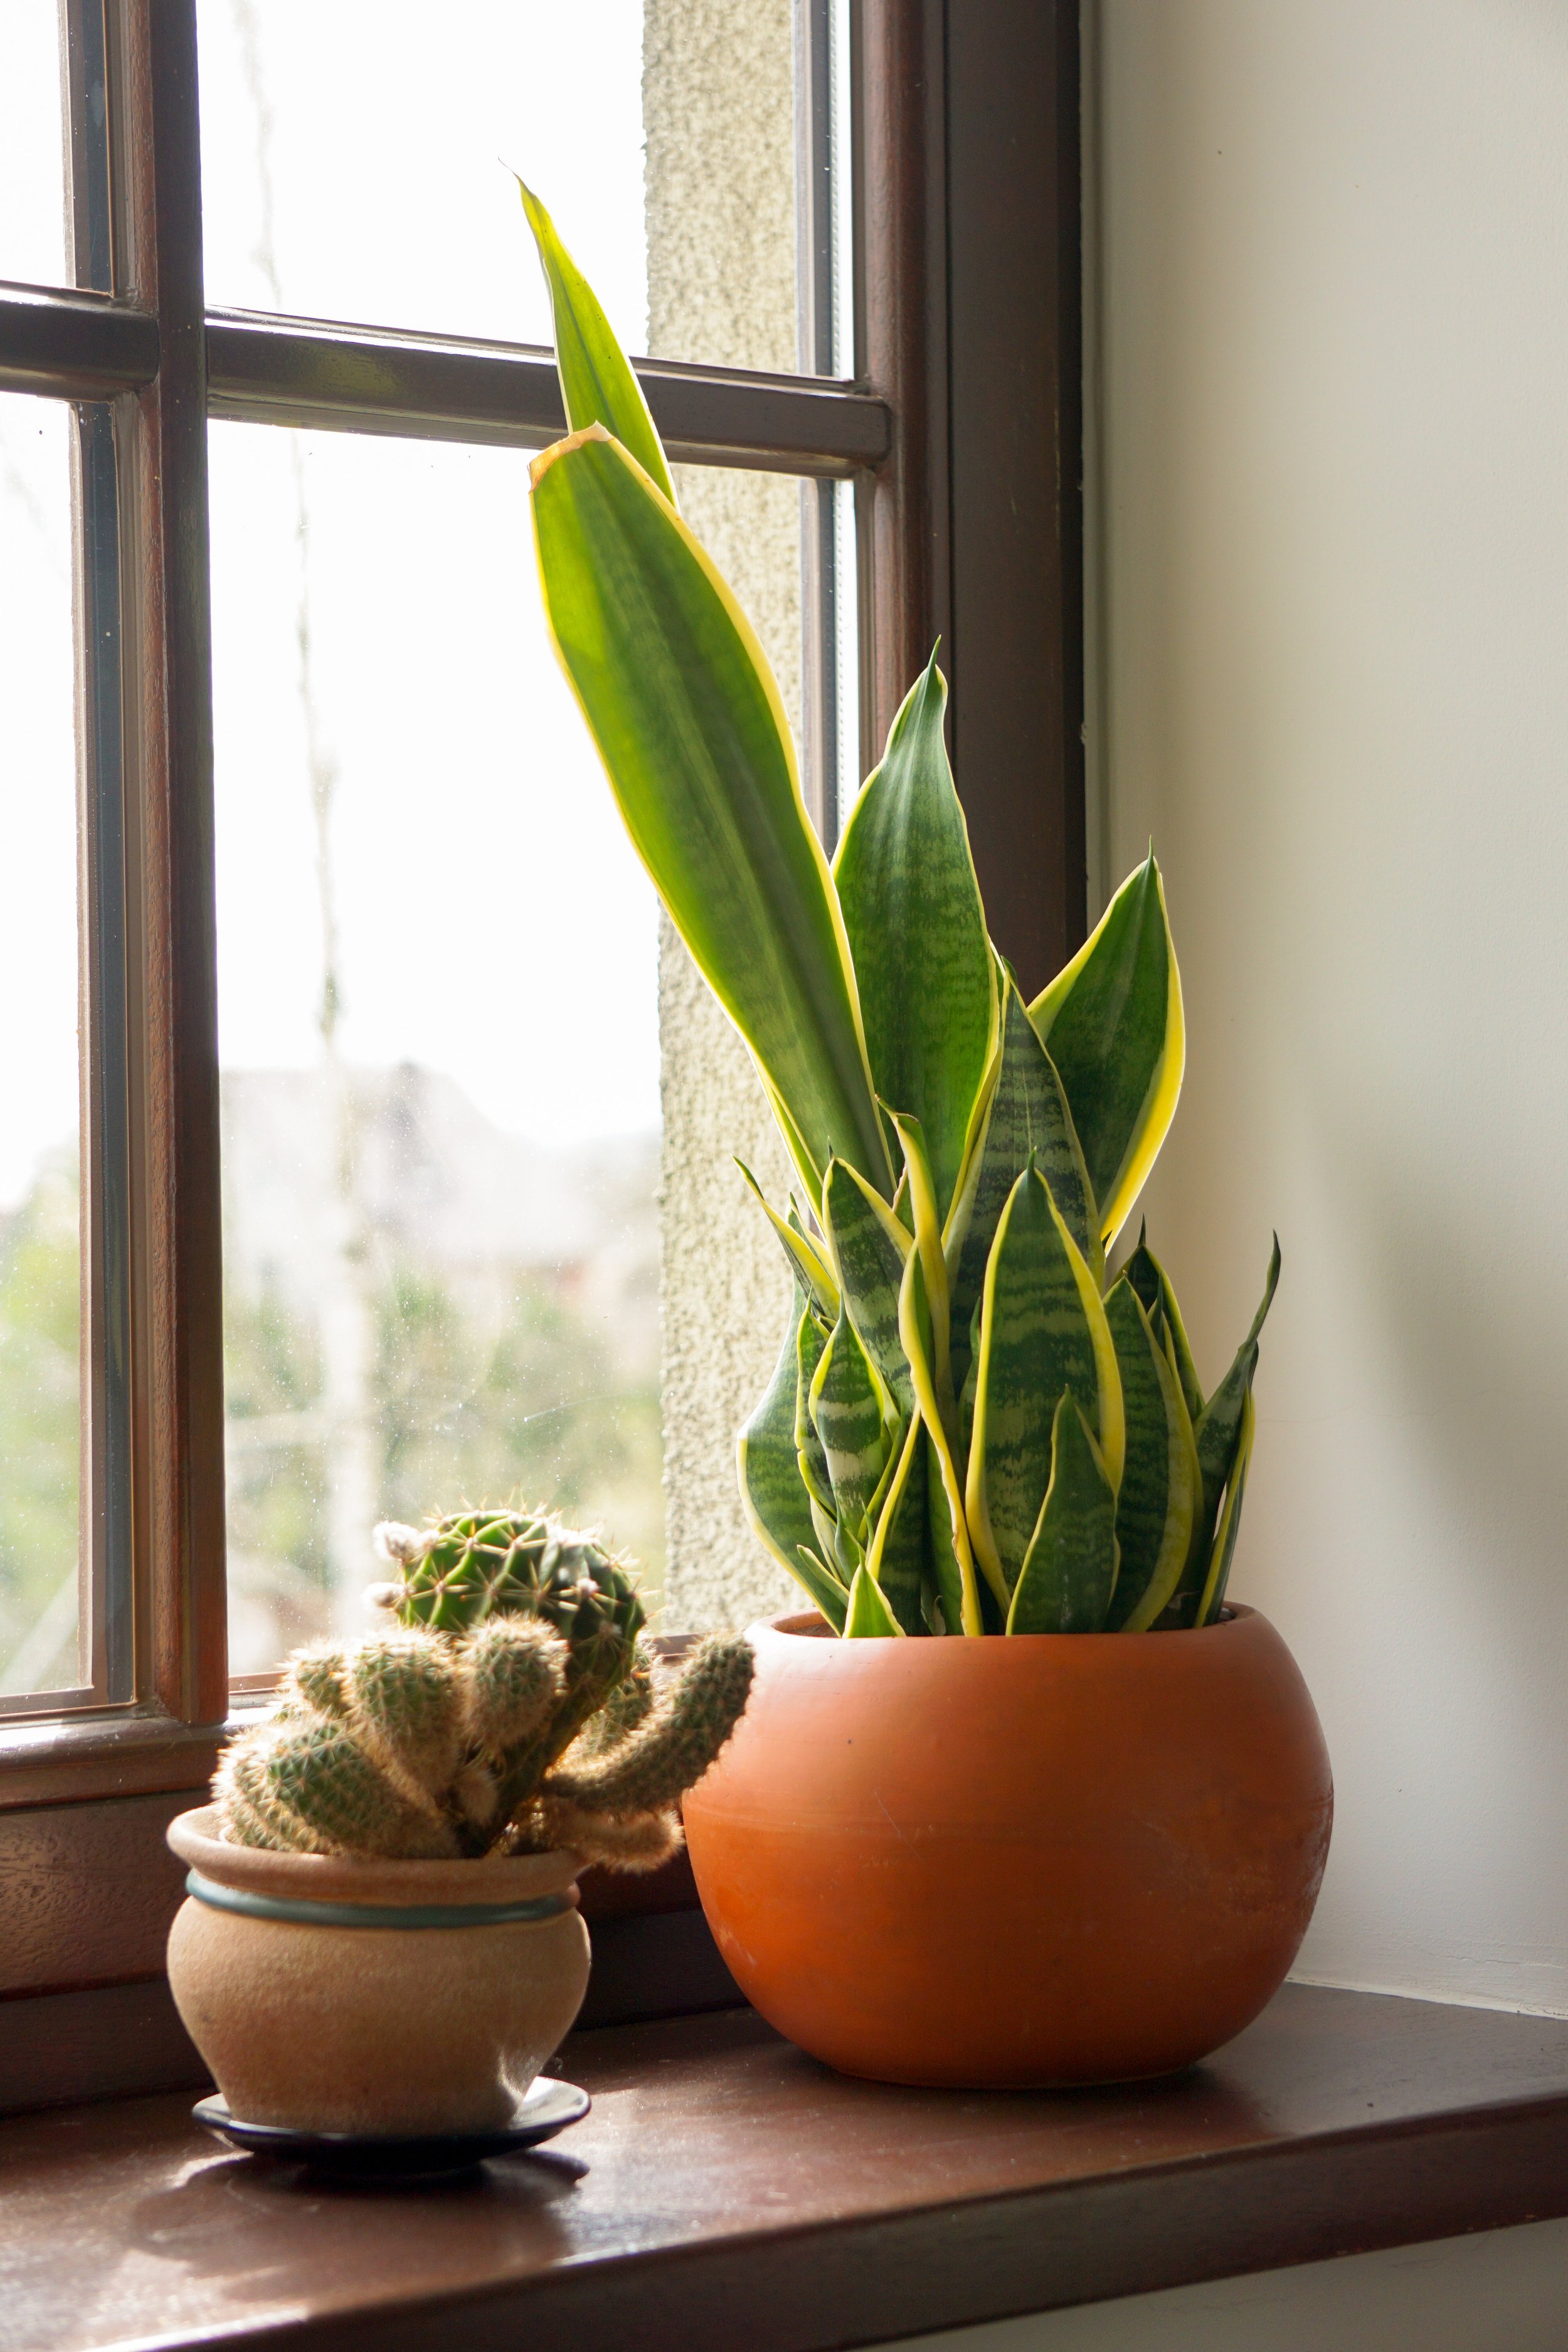
Repotting snake plant steps
Ah, the repot. The revival, refresh, and reputation of your snake plant depends on this moment. But hey, if you don’t want to risk it, book a consultation with us and we’ll show you how in person :)
Back to the life or death of your plant…Luckily, snake plants are hardy and can handle a wide range of environments. These are 8 steps on how to repot a snake plant.
1. Check to see if it needs repotting
Before you think you know what’s best for it, you need to physically look for signs. The most common cause of plant death, especially for snake plants, is overwatering, but the second could arguably be a poor repot. Here are some signs to look for on when to repot snake plant varieties:
The roots are wrapped around tightly in a circle at the bottom of the soil.
The plant’s health is deteriorating, and you’ve had it in the same soil for a year or more.
You see pests like gnats in the soil or on the plant and insecticidal spray hasn’t worked.
The plant is stuffed in its pot and needs more room to grow.
If you see one of these issues (or God forbid all of them), head to the store and…
2. Gather the right materials
Food nourishes us and helps our bodies function just like soil does for plants. If you give your snake plant the wrong soil, it’s going to suffer. By gathering the right materials, you are offering your plant the healthiest environment possible and it will last longer, as will the money you spent on it. Here are some great resources on how to repot a snake plant.
50/50 soil mix
I personally prefer Fox Farm Soil with added perlite and some sphagnum moss. You can also get pre-mixed cactus/succulent soil. I recommend these types because snake plants are drought-tolerant, so they don’t want to sit in rich indoor potting soil that will retain moisture for too long and cause root rot.
Grow pot
I always suggest repotting in grow pots because you can easily move it from one decorative pot to another, it’s used to the material, and if the plant doesn’t make it, you can reuse the pot. Also keep in mind that if you’re repotting because the plant needs more room, you’ll want a grow pot 1-2 inches larger than what it was in (example: was in a 6in, needs an 8in). You can get them at local nurseries, stores like Lowe’s or Home Depot, or easily order them right here!
Gloves
Enough said. You can get them here.
Repot mat
When I’m at client’s house, I use a portable repot mat to avoid a mess. I love love love this one here, but you can also use a tarp or simply repot on an outside table or the grass. Beware, dirt will get everywhere!
Trowel
It looks like a small shovel. I use the Friskars Garden Hand Trowel and it’s a lifesaver for larger transplants where you have to bust up the soil or hardened soil on any sized plant.
Watering can
You wet the soil when repotting, so you’ll need access to water! The long spout watering can is best for large or bushy plants, and the Psukhai watering can is best for indoor use.
Now that you’ve gathered your tools (you can order them from our Resources Page as well), it’s repotting snake plant time!
3. Empty the soil from original pot
Get rid of the baggage! When learning how to repot a snake plant, you want to remove the soil and the plant from its original pot by gently shaking it onto its side. If you’re having trouble loosening the soil, stick a gardening stake or something similar into the holes at the bottom of the pot. You’ll want to do this on your repot mat so dirt doesn’t get places you don’t want it to.
4. Remove soil from roots
Now that the plant is free from the pot, you want to continue stripping it from the original soil. This is where you can use the trowel to break up the soil. Gently massage the root ball until most or all of the soil has fallen off. You should see just your snake plant with little roots sticking out the end.
5. Moisten new soil
Setting the snake plant aside, grab the new soil and put it in a container (I use the new pot but you can use a big bowl or bin, too). Use as much as the new pot will hold and pour some water onto the soil until you feel it moistened, not soaked. Mix it up!
6. Place new soil in new pot
Place 1/2 of the moistened new soil into the new grow pot (or decorative pot if that’s what you went for). Gently pat it down. You want to use half of the soil to save room for the plant but since snake plants don’t have super long roots, you don’t need a deep container or to set it too far into the pot.
7. Place snake plant in new pot with soil
The soil is present, the plant is ready, now it’s time to set the snake plant into the center of the pot 2-3 inches down.
8. Surround the roots with new soil
Time to tuck the snake plant in! While holding the snake plant in its position, cover the roots with the moistened new soil until you reach the top of the pot. Gently pat down the soil and fill in more if needed.
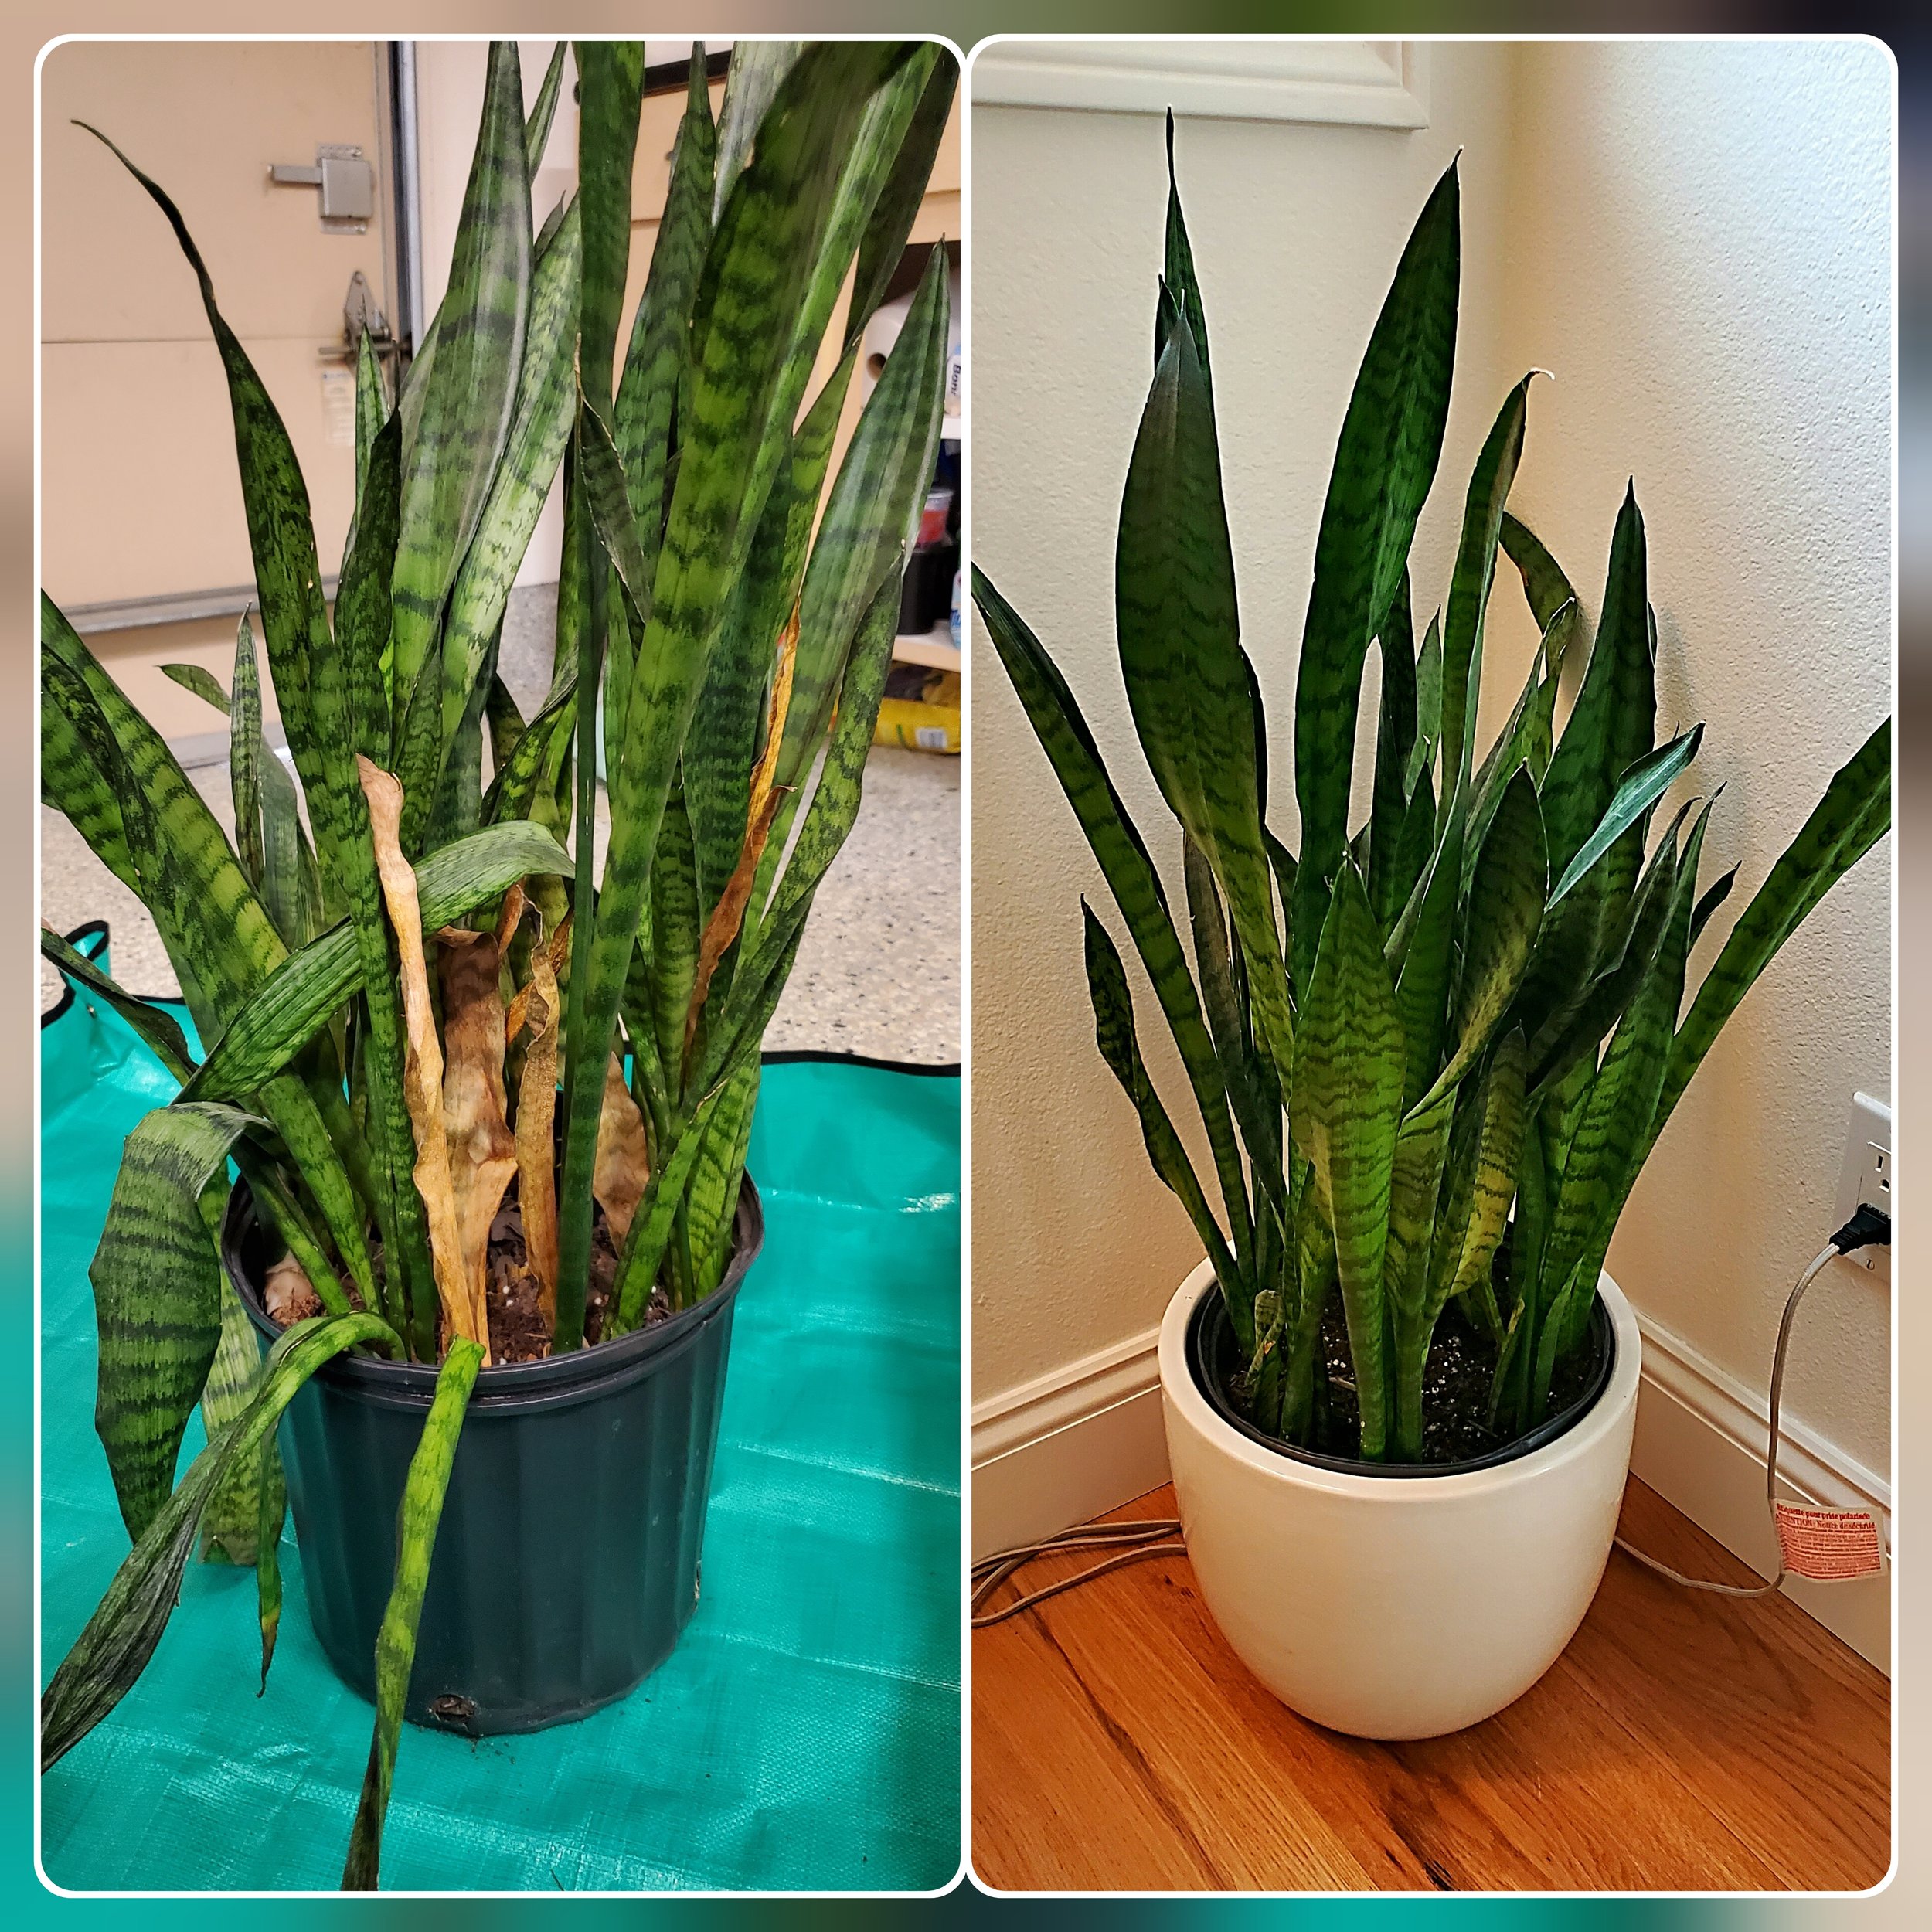
Viola! You now know how to repot a snake plant. This method applies for most plants so feel free to use it on others. The only difference is the length of the roots on other varieties of houseplants tend to be longer so they will fall deeper into the pot and the type of soil differs slightly.
Good luck!
…
Thanks for reading!